Panels

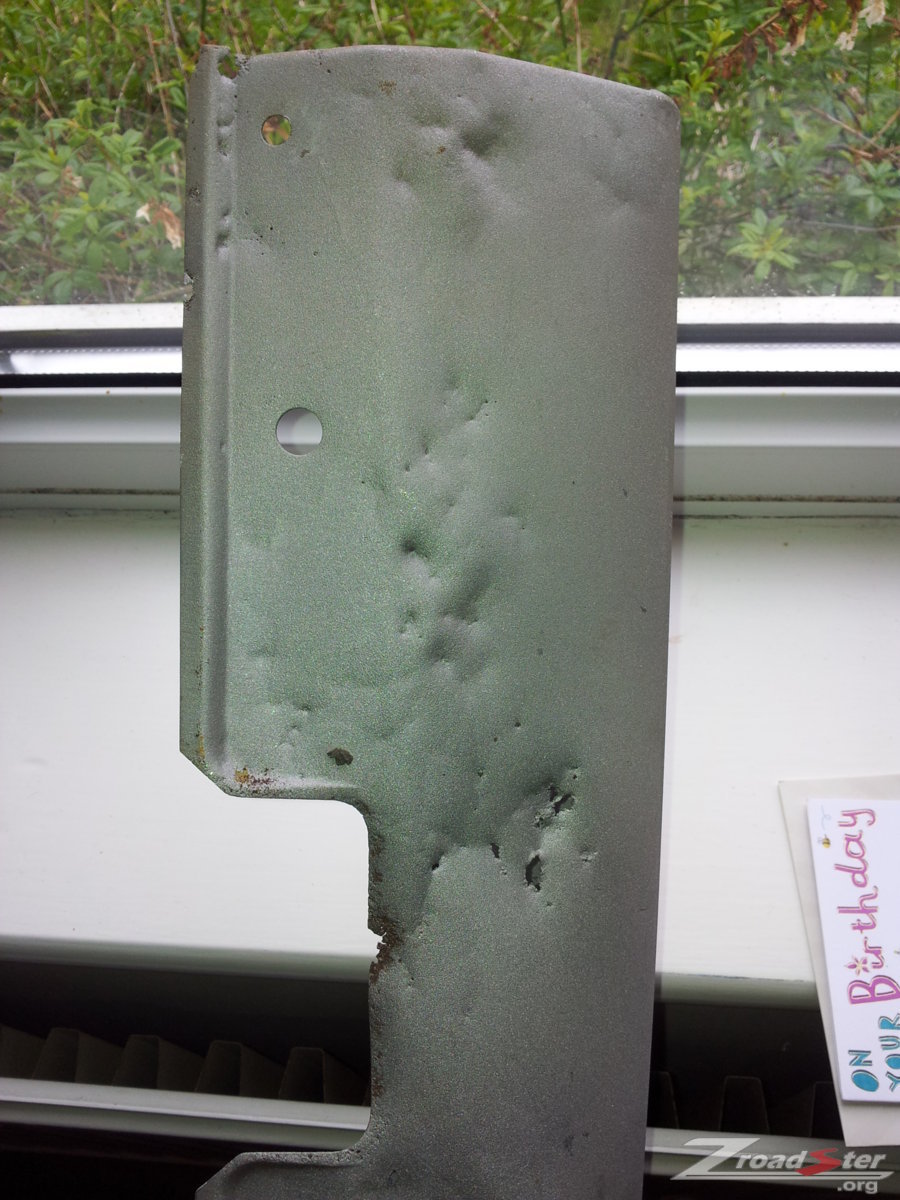
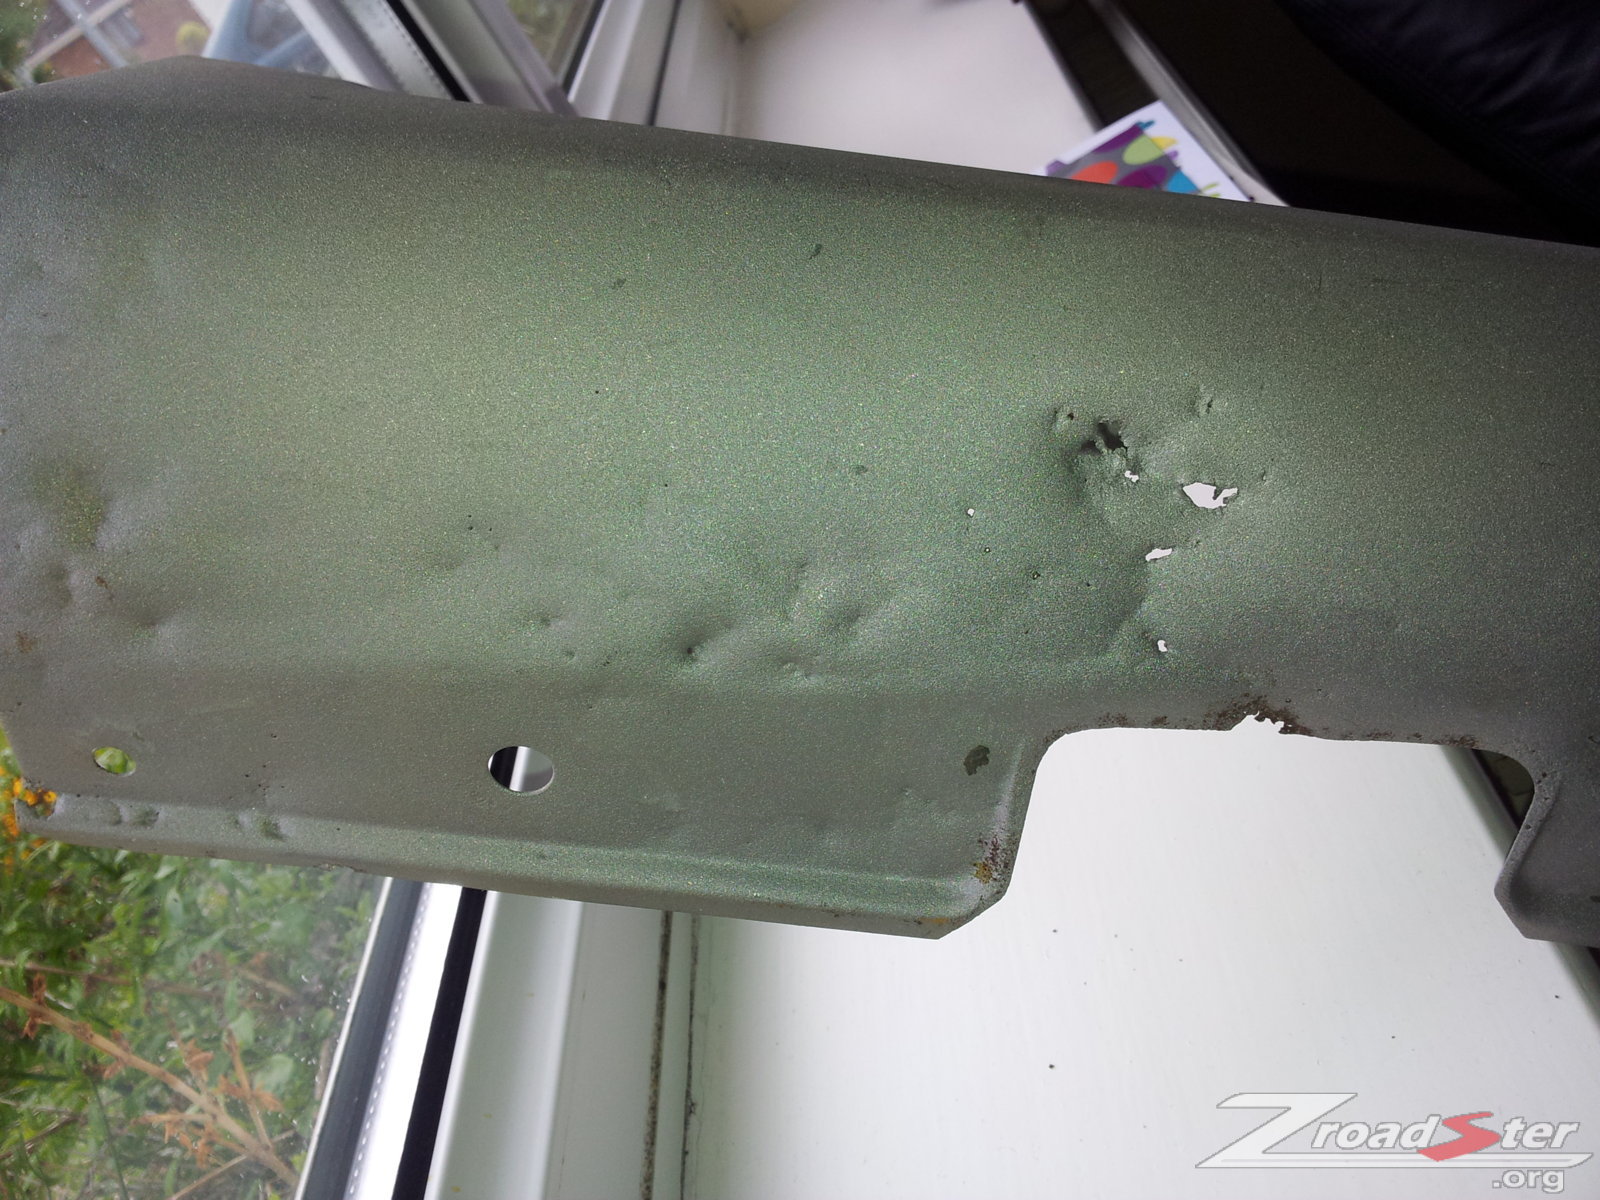
I am also doing this job, not because of rust but gravel rash on the rear wings and sills. The removed sills are a bit rusty on the inner surface and Sopers of Lincoln are doing a very good deal on the replacements. The only drawback is that I have to collect them as they do not ship body panels.

So what deals are they offering on panels then I would be interested in pricing.
 
Zorg discount:thumbsup::thumbsup::thumbsup:
yep! i rang them and talked to the guy, i called Blackpool and asked if they could match it, they couldnt do that good a price, but i got them for 129 each, which is a far sight better than 153 :) just went down there then and payed, they will be ready for friday :D
 
do i get any prizes for having the rustiest zed then? =))


im actually crying inside.

i have no idea where its lived all its life, maybe near the sea in a ditch? ... i
I'm sorry to hear your crying inside, i would be to. I hope your soon to be smiling inside and out when its all sorted
 
I wrote my first Z3 off due to the cost of getting the rust sorted. Mine was mainly in the panels, and the sills were still fresh as a daisy.

Worked out new sills, and then a complete respray was almost the same as the car was worth at the time. By the time I'd sold off the expensive bits'n'bobs I'd fitted to it and then the cash I sold it for, I'd pretty much broken even...
 
I wrote my first Z3 off due to the cost of getting the rust sorted. Mine was mainly in the panels, and the sills were still fresh as a daisy.

Worked out new sills, and then a complete respray was almost the same as the car was worth at the time. By the time I'd sold off the expensive bits'n'bobs I'd fitted to it and then the cash I sold it for, I'd pretty much broken even...
not really what i want to be hearing! haha
 
not really what i want to be hearing! haha
I did have a Z4 at the same time, so I wasn't really that committed to the 3. If it wasn't rusty I would have put up for sale as a runner. But by the time I'd took the sills off, and had the paint bead blasted off them I was kind of forced down an expensive route I didn't want to go on.

I'd probably handle it differently now...


I did have a Z4 at the same time, so I wasn't really that committed to the 3. If it wasn't rusty I would have put up for sale as a runner. But by the time I'd took the sills off, and had the paint bead blasted off them I was kind of forced down an expensive route I didn't want to go on.

I'd probably handle it differently now...


Wow, yeah, I am saving a lot of money because I'm not paying anything for the paint, so hopefully it will always be best to replace parts rather than writing it off, after I've had my front and tear quarters painted and my skills... And the welding on the jacking points it'll look as good as new :)
 
Yours look great almost new
Thanks - the frame was in good condition but I got to the sills and wing panels just in time - rust was setting in there.
If you haven't taken the sills off yet, and you are keeping your car long term, then they should go on the `to do' list. The main areas of concern are the behind the front wheel arch liner for both sill and wing panels.
 
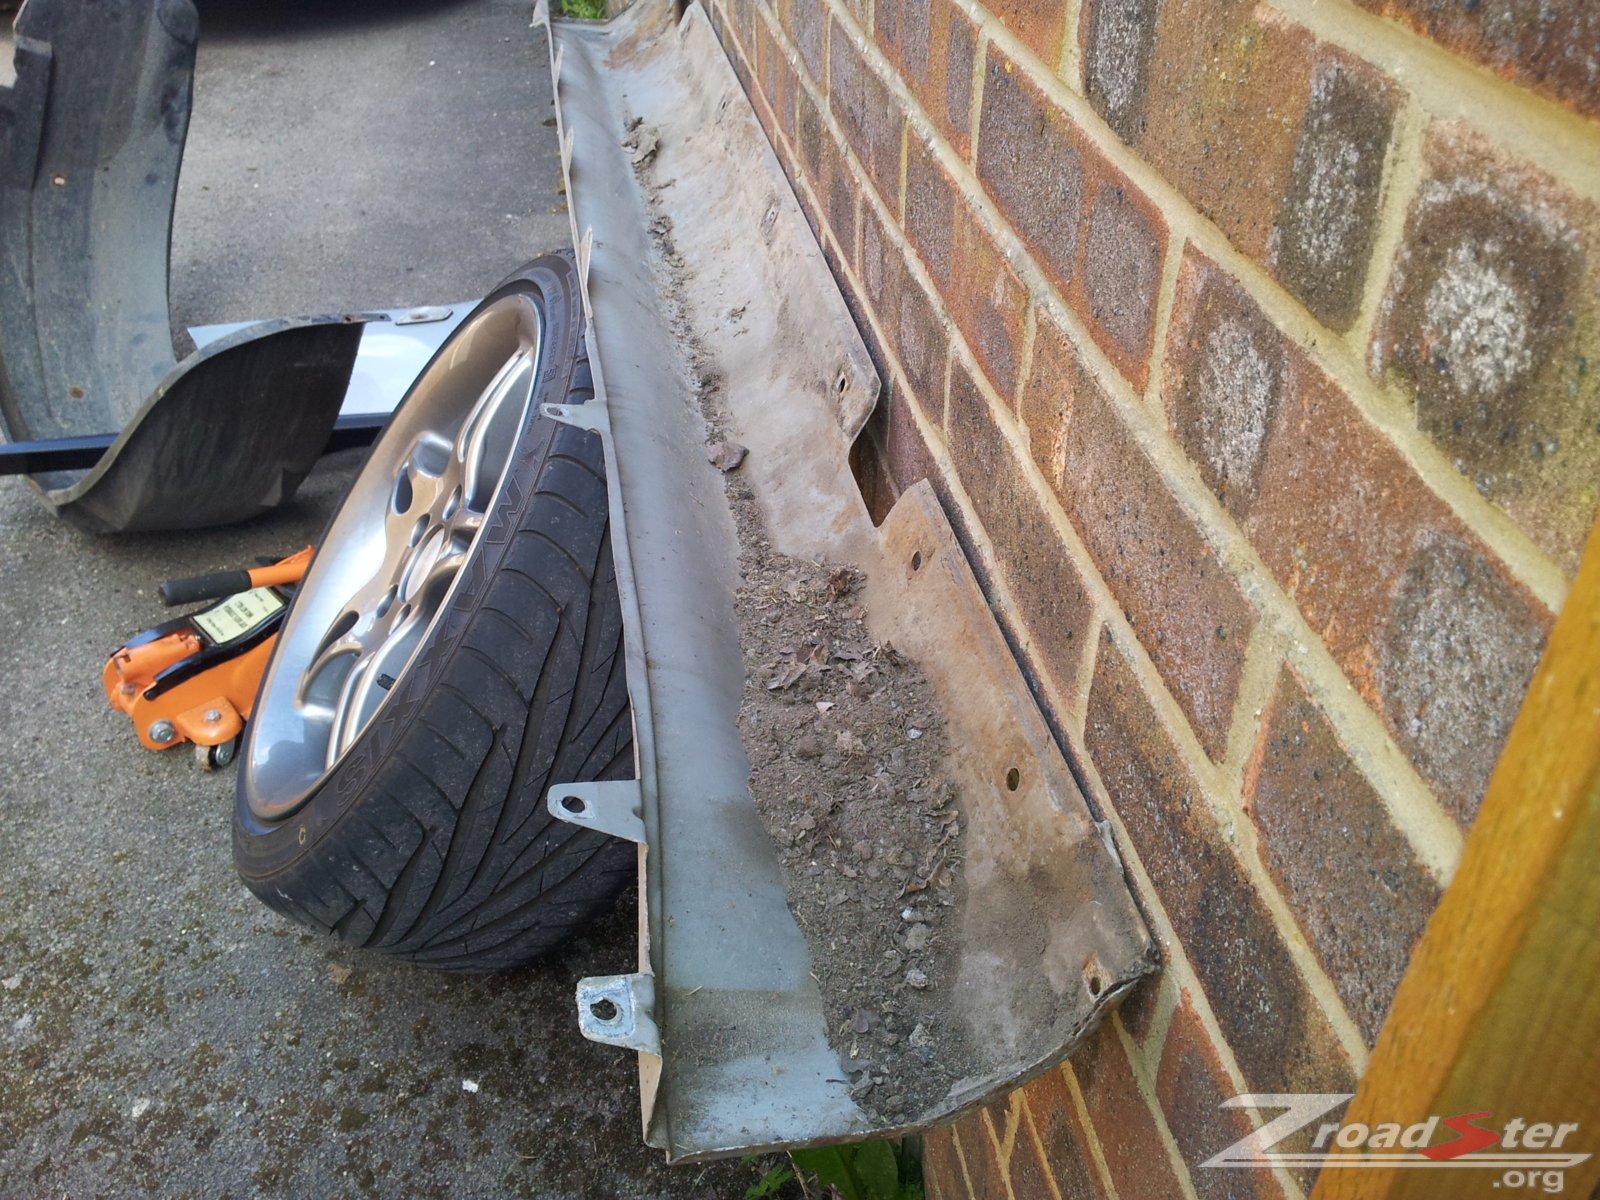
Oh, just found this picture as well showing how much crud gets behind the door sills. Something I think a lot of people don't realise...

 
Pete Z3 you can't beat knowing you've had a hand in fixing your own car. Hope it goes well.

Cheers,

Jonno
 
Oh, just found this picture as well showing how much crud gets behind the door sills. Something I think a lot of people don't realise...

Mine were a lot worse than that, they were completely clogged with mud, hence the excessive rust in the chassis. It's strange, the rest of my chassis looks okay, my Zed must have lifed on a farm at some point!
 
Update!! Myself and my dad (mainly my dad) fibreglass patched the rear quarters, making sure the get it down to bare metal to eliminate all rust... Filled it with body filler. I have bought genuine sills, and got two front wings from euro car parts for only 33 quid each including delivery! Panels are now at my girlfriends dads house ready for spraying! He said he's gonna stone chip under the sills and till in all the nucks and crannys in the inside if the panels with this rubbery stuff.. I forget what its called. Basically they will last For another 17 years. Can't wait, he's doing them when he has a break in his work, he said he'll do them next week some time, exciting times!

Here's some pickys:

I didn't take that many because I mainly had either resin or filler covering my hands, but you'll get the jist.

My dremel really came in handy getting rid of the rust that was still there after shot blasting, I would really reccomend using one if your doing a similar job. The little wire brushes could get into the tight spots really well!

AKnJxpU.jpg


This is obviously before, the bracket was pretty nasty, but it got shot blasted and we then fibreglass it to make it nice and strong

hpApzBe.jpg


We used this aluminium tape on the outside of the hole and filled it from the back with chopped strand then used a layer if fine

pZj86ru.jpg


uk7hyNnh.jpg


sfjNLz1.jpg

0Z7jsGl.jpg


I learned a lot by watching my dad do this, I think if I were to tackle this by myself next time, I could do a good job.

Anyway, it was time for a home brew break! ;)

BKxdYcF.jpg


We left the fibreglass to cure over night, trimmed it off using a dremel, sanded a bit here and there, then began to fill the pits, unfortunately I didnt get any pictures of this, but there was a lot of filler involved, there was some bad pits along the under side of the arch.
FzzVIB0.jpg


m9AYE4Z.jpg


We just got rid of all the rust we could see and primed it to prevent further rust... Dave ( my girlfriends dad) said just to do this and he would then sand it all down and just do it his way... There was no point in us trying to do it, it'll only take him a few mins, where as it would have taken us all day haha... Here are some final pics of what they were like when we sent it him...

SAEXPrL.jpg


There was quite a lot of rust on the filler cap, but I got rid of it using the trusty dremel and sanded it all down then primed it.

UX83a2P.jpg


And this is a group photo.. Notice the tyre stack haha... My mum isn't happy lol...

qTzCSqS.jpg


And there you have it. I can't wait for my panels to be done!... Were going to do the welding on the chassis next week, so shell be on the road again soon!!
 
little update:

We have commenced the chassis work, we started on the worst which is the front left jacking point and its ready for welding in Brians replacement piece tomorrow which has been shaped and fits snug. also ground a little bit off the other corners to explore the extent of the rust... first thoughts are , it is not as bad as first though, im thinking that we are not going to have to replace all the jacking points, but we shall see tomorrow if thats necessary. its probable that we will only replace little bits on the corners that arn't too bad...


anyway. Brians replacement chassis parts are thicker than mine! very strange, the metal is definitely a different gauge. @Brian H if you could chime in as to why this is or let me know what model the z is that we used as a donor it would be good to know why its thicker than mine?

I believe this is why my jacking points are particularly bad. when the car has been jacked up using the points it has bent the thinner metal increasing the amount of rust... obviously this is just a contributing factor. but i would deffo like to know which models have thicker and which have thinner chassis's. if anybody could shed some light it would be grate!!

Pete
 
IIRC Pete, I think Brian's donor car was a 3.0? Sound like good progress mate.:)

Tony.
 
As Tony say it was a 2001 3.0i that they were taken off, really interesting that they are a different gauge.
 
Back
Top