You are using an out of date browser. It may not display this or other websites correctly.
You should upgrade or use an alternative browser.
You should upgrade or use an alternative browser.
What have you bought for your Zed this week?
- Thread starter bombur
- Start date
- Joined
- Feb 18, 2016
- Points
- 246
- Model of Z
- Z3M Imola and Z4 (e89)
The issue was the third bolt or so I believe, it let water into the unit that usually discoloured the LED indicators and could stop them working, the updated version have that fixing removed hence hopefully solving the problem.Thank you, I wonder if that was the problem and why they went faulty as the rubber was not sitting correctly? I will find out I guess!
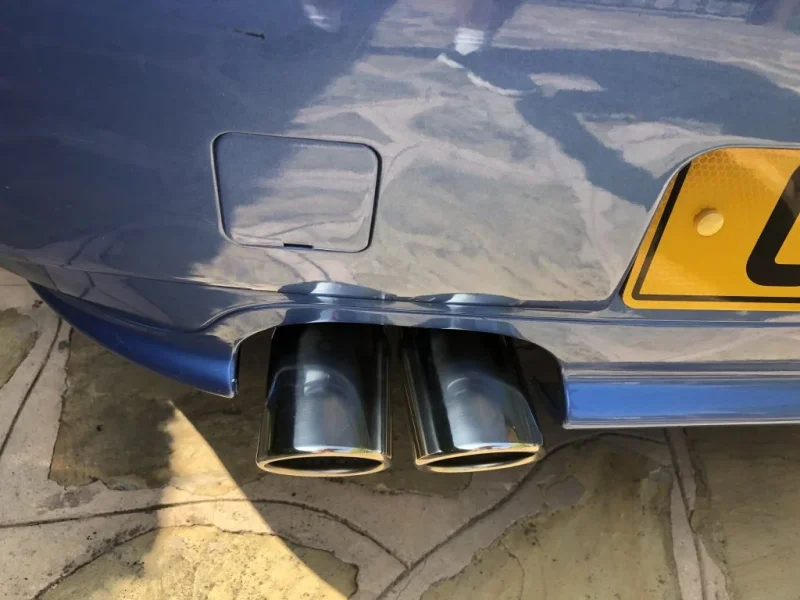
Thank you, gave me the inspiration to tackle mine, unscrewed without a problem and sorted in 15 minsNew exhaust tips for the E89
Old ones had seen better days so I tried to polish them but they too far gone. Bought a cheap pair from Ebay. Offered the guy a low price and it was accepted so £15 later they arrived. Was actually surprised as looked and felt decent to be fair.
Getting the old ones off was more difficult than I anticipated and had to use a bit more force on the left one with a chisel (carefully). When it came off the amount of stuff that was sandwiched between the fixed pipe and old cover was amazing. Looked like tarmac.
Whilst doing removing I also noticed a loose earth strap that had lost its nut so was a good job that I checked around.
New pipes fitted fine, had to use a rubber mallet and foam to protect them to secure them on.
Pleased with the result, not sure how long they will last but as they were cheap its worth a shot.
Debris that was sandwiched between the pipe and cover.
View attachment 308189
New and old
View attachment 308193
All done
View attachment 308195
Attachments
To follow my last post I also added these today, have had them for ages but finally put them on, I was copying from an old M badge I had, realised too late that it was upside down, at least the middle one is in the right place.

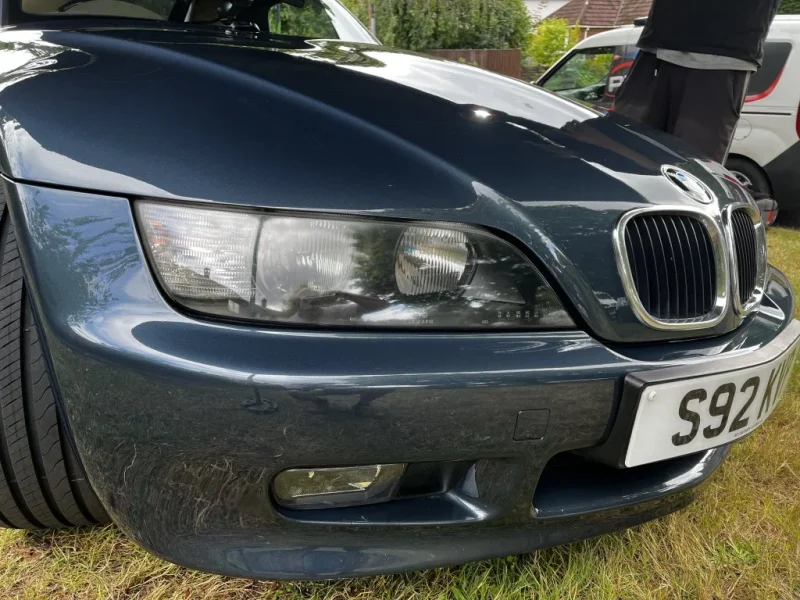
Fitted today, relatively simple and as @Nodzed said the rubber bits need to manipulated a bit so they make a seal. I actually noticed that on the side I removed and the ones on the left hand side the seals were not sitting at all, and were not sitting 'outside ' the light fitting/metal. So I have done a bit manipulating to the LH side ones and they are now sitting better as wellHave been getting the intermittent indicator error on RH side of my E89, was expected tbh when I looked at them when I picked it up and could see they were originals. So called out to Italy and this has just arrived. Next need to fit it, will do on Weekend.
View attachment 311097
Last edited:
- Joined
- Feb 18, 2016
- Points
- 246
- Model of Z
- Z3M Imola and Z4 (e89)
Glad it went well.Fitted today, relatively simple and as @Nodzed said the rubber bits need to manipulated a bit so they make a seal. I actually noticed that the on the side I removed and the ones on the left hand side the seals were not sitting at all, and were not sitting 'outside ' the light fitting/metal. So I have done a bit manipulating to the LH side ones and they are now sitting better as well

Nothing wrong with air guns. Same as a lot of things, it's not what you've got but how you use it.
Tony.
Tony.
What did you get in the end ?Some tyres. ATS in Godalming were good. Not an air gun in sight.
View attachment 311465
Went for broke and got Pilot Sport 5’s. Massive price variations between tyre places. There was a discount that made them not much more expensive than all the other brands. I can’t say I was impressed with the state of the Avon’s after 16k miles. Subjectively, based on the 20mile drive home the ride has improved. Will get the fronts changed when I find some loose change down the back of the sofa.What did you get in the end ?
Sport Springs ")

Keep them locked in a safe


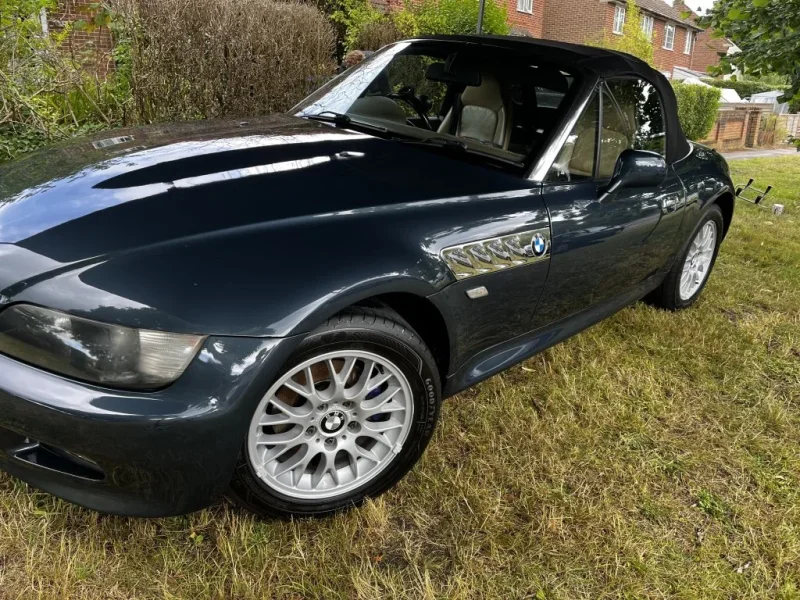

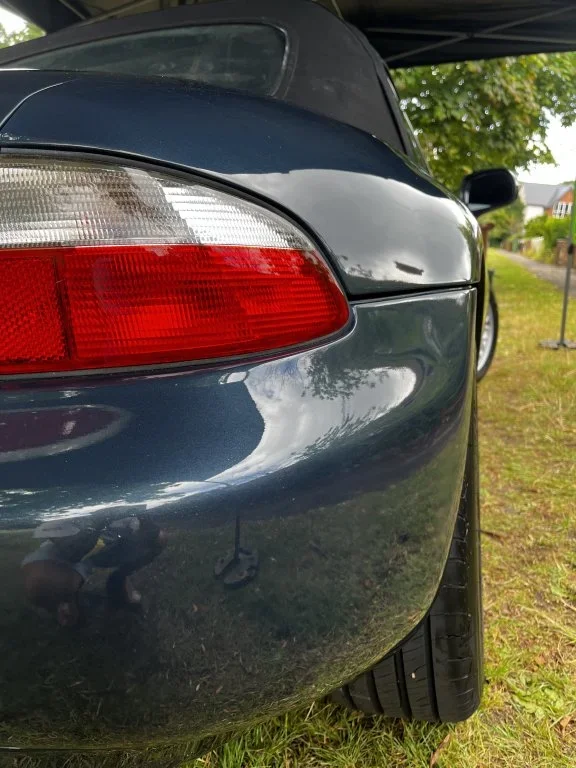
Some before piccys
Attachments


Looking good. Probably not the best lighting to show off the end result in the pictures. Hope to see it out and about in the metal at some point.Some before piccys
Yes you’re right, not the best light. I’ll have to get a few more in the sun.Looking good. Probably not the best lighting to show off the end result in the pictures. Hope to see it out and about in the metal at some point.

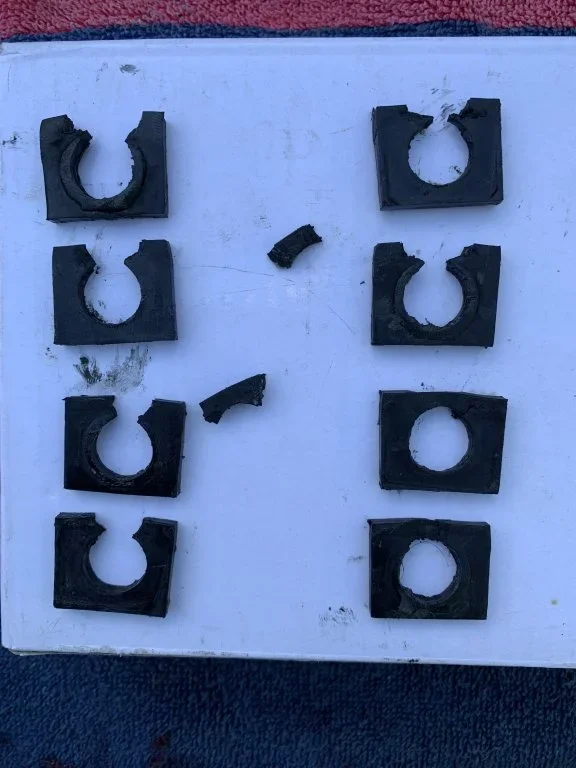
Spent a couple of hours today, sorting out the rocking seats. Used the opportunity to give the carpet a clean as well.
You have old bits that still look almost like old bits. I did mine a week ago - there was nothing in there at all. Just mush.
Once done it feels really good though doesn't it.
Not had chance to drive it yet. I agree it should feel better as the seat moving is quite disconcerting.You have old bits that still look almost like old bits. I did mine a week ago - there was nothing in there at all. Just mush.
Once done it feels really good though doesn't it.
They weren’t moving as much as some I’ve see on YouTube just enough to feel weird.
My car is a Japanese import and only done 30k miles so I guess that’s why there was some bush left. It does show that age can have as much impact as millage and I have had to replaced a lot of rubber parts in the two and a bit years I’ve owned it.
Last edited:
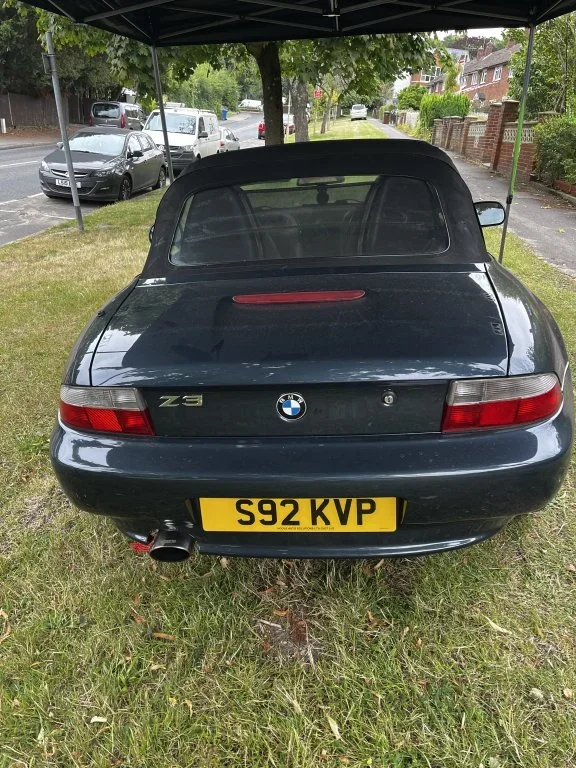
Had to get a new boot Z4 badge. I caught the end of the Z and snapped it off.


After removing the whole badge I buffed the boot lid before putting the new one on.


Tony.
After removing the whole badge I buffed the boot lid before putting the new one on.
Tony.
Last edited: