jaguartvr
Zorg Guru (I)
- Joined
- Jan 9, 2017
- Points
- 95
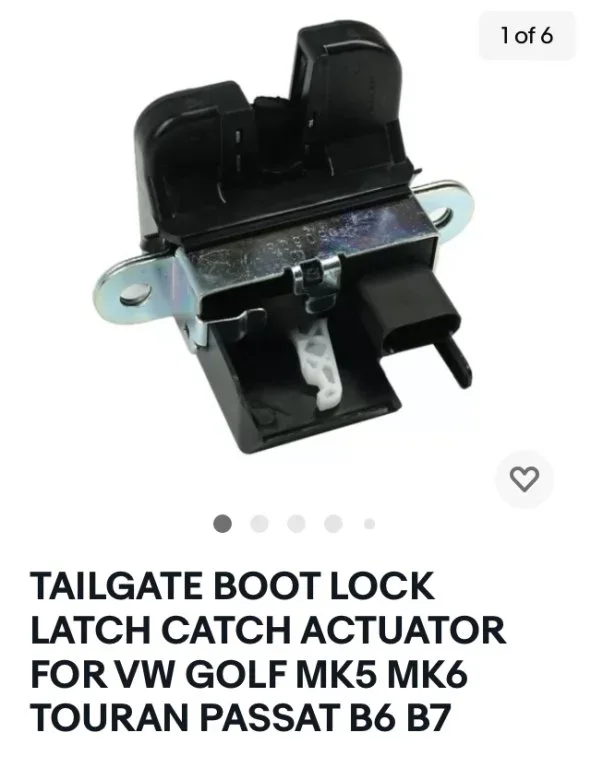
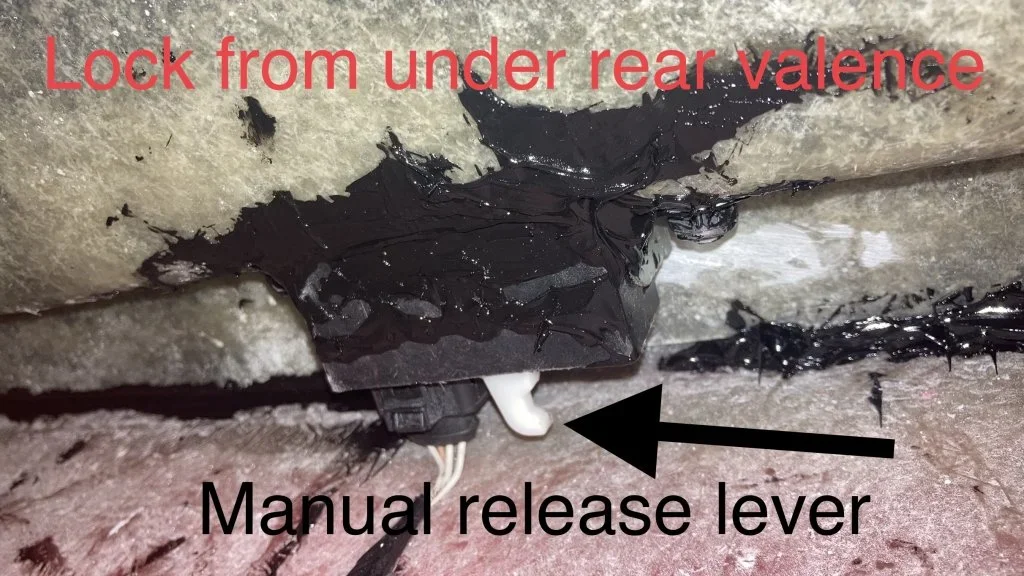
Do you have a wiring diagram showing the wires from the boot handle and where they join on the boot latch?
I found 15mm plastic plumbing pipe idea for running cables through, it can easily be glassed into place. Works great under the bonnet and makes it all very neat.
I found 15mm plastic plumbing pipe idea for running cables through, it can easily be glassed into place. Works great under the bonnet and makes it all very neat.


")